Application Processes, Industrial
Adhesive Drum Change: best practices and useful tips.
High volume application of sprayable industrial adhesives and sealants require professional grade drum pumps, also known as bulk unloaders. While the specific type of pump may vary, most Seal Bond products require a pump that handles ambient temperate and high-viscosity liquids. For examples of typical bulk unloaders check out the offerings from Nordson, Graco or ARO.
Proper and consistent drum set up will help your team achieve the following:
- Faster changeover and setup times
- Less cleanup
- Less downtime caused by leaking or spills
- Minimized waste
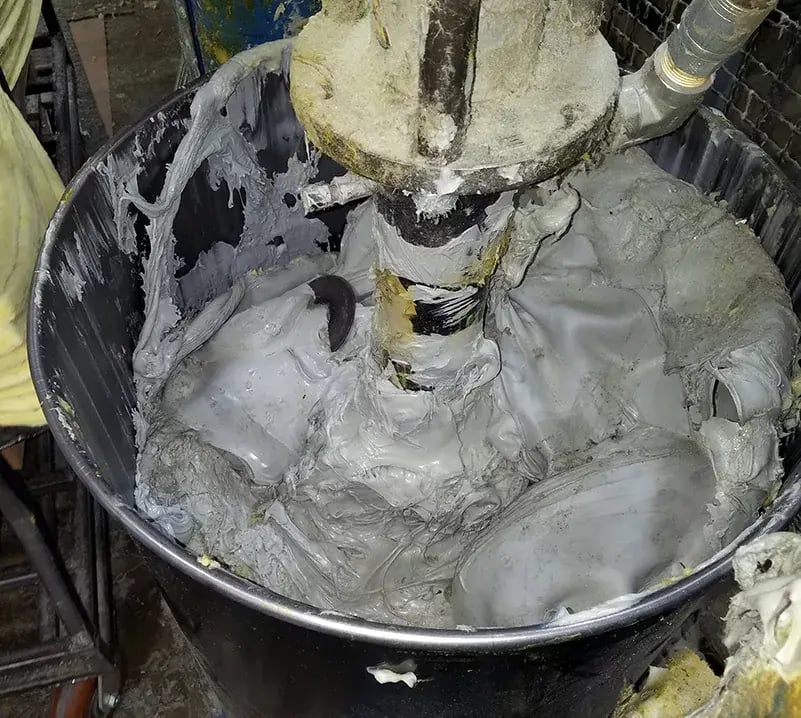
We’ve outlined some best practices and tips so that you can avoid creating a mess like this one.

Step 1: Open the bag liner
Opening the adhesive drum liner before loading into the pump will provide easier access to prepare the bag and top sheet for unloading.

Step 2: Cut Bag and Liner
Trim the bag liner to the top of the drum and cut the top sheet using a template. Proper trimming will allow the pump to operate as designed and minimize the leaks and air bubbles.
Note: Template is shown in image and top sheet has not been cut yet.

Step 3: Fold Liner over edge of top sheet
Folding the liner over the top sheet edges effectively seals the bag/liner to prevent adhesive or sealant leaks.

Step 4: Insert Drum Ring
The drum ring distributes pressure evenly around the drum liner and locks the protective top sheet seal.
Tip: Apply a small amount of grease to the ring to make cleaning easier.

Step 5: Operate Pump
Follow the drum pump manufacturers instruction for proper adhesive or sealant application.
Results
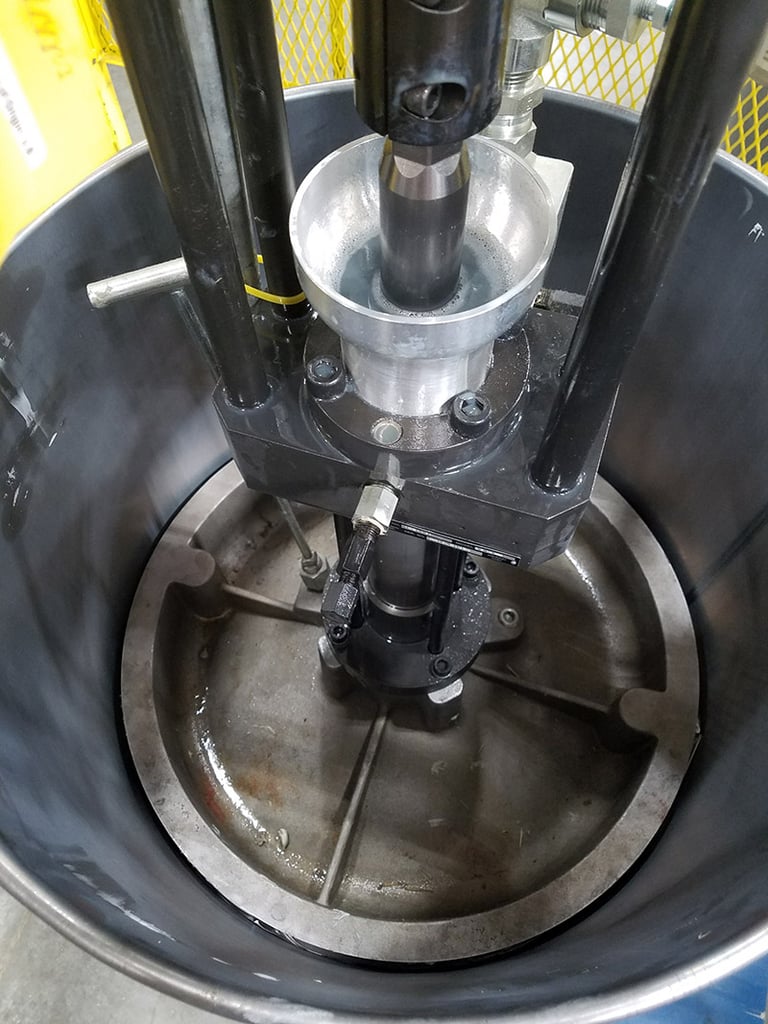
By following the steps outlined above, the unloaded drum and follower plates should remain clean and have no visible mess.

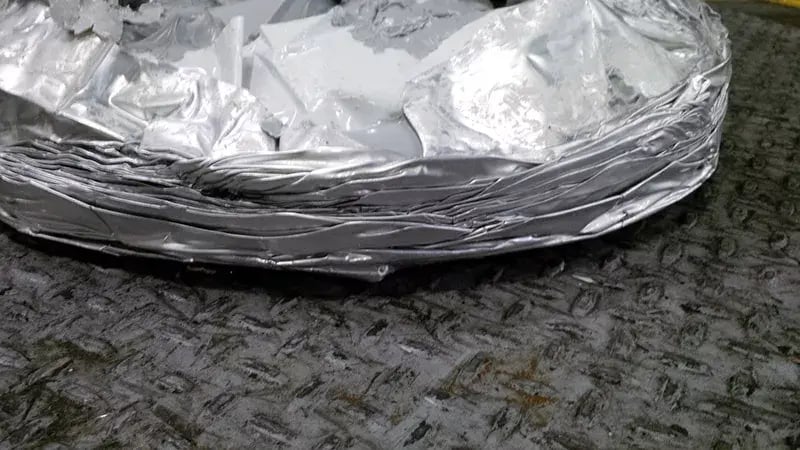
The drum liner and top sheet should be compressed neatly at the bottom of the drum for easy disposal.


The top sheet may get stuck in the follower plate but it can be easily removed and should not require excessive cleaning of the follower plate.

Recent Posts
Archives
- September 2025 (4)
- August 2024 (3)
- September 2024 (3)
- October 2024 (3)
- November 2024 (3)
- October 2025 (3)
- January 2019 (2)
- January 2025 (2)
- March 2025 (2)
- May 2025 (2)
- July 2025 (2)
- August 2025 (2)
- December 2025 (2)
- October 2015 (1)
- February 2019 (1)
- March 2019 (1)
- April 2019 (1)
- May 2019 (1)
- June 2019 (1)
- July 2019 (1)
- August 2019 (1)
- November 2019 (1)
- December 2024 (1)
- February 2025 (1)
- April 2025 (1)
- June 2025 (1)
- November 2025 (1)
